IR Heating vs. Forced Air: Which one actually works for wafers?
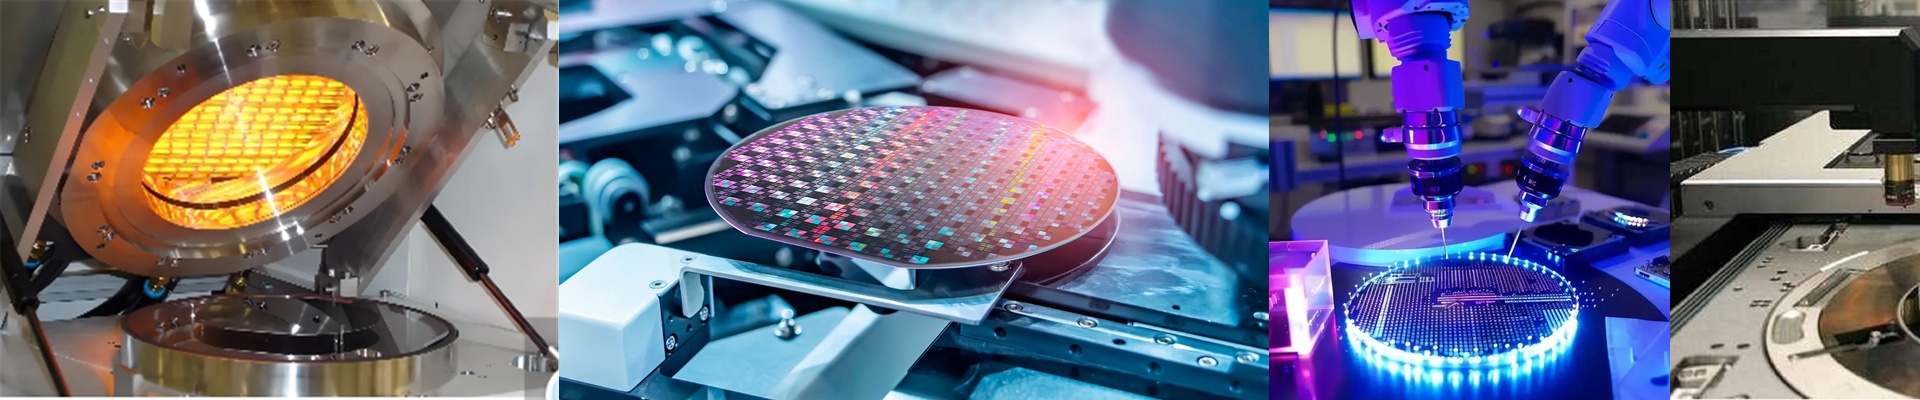
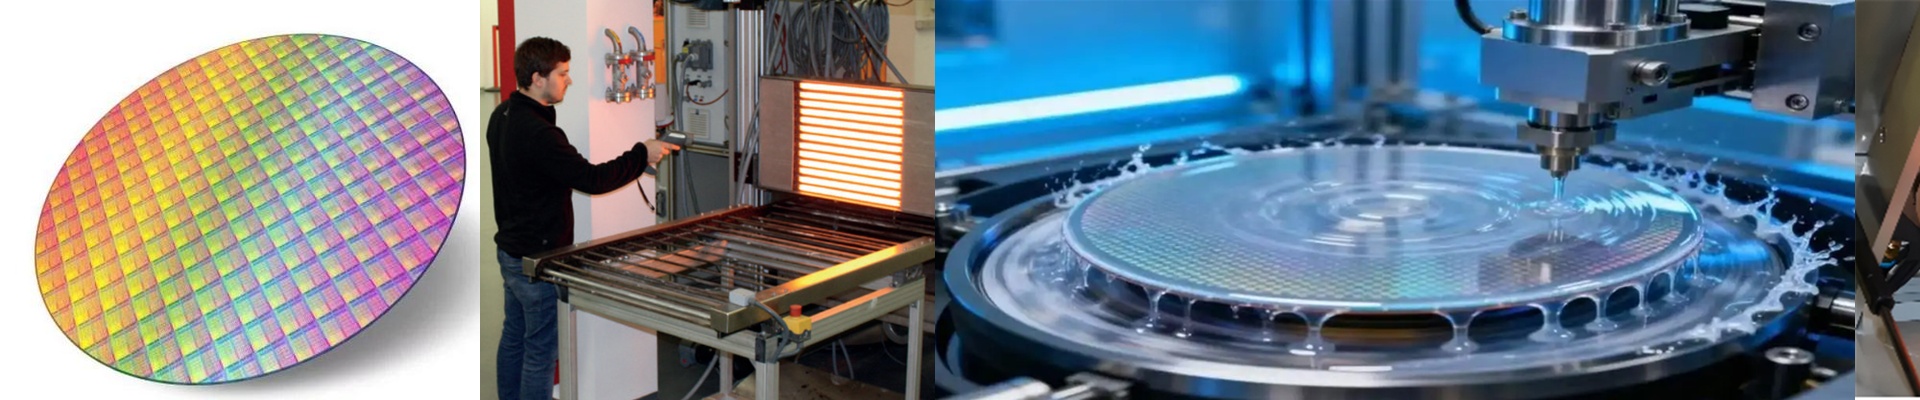
If you’re thinking about switching from hot air to infrared (IR) for your wafer processing, it’s less about finding a “better” heat source and more about how you actually get that energy onto the silicon. With forced air, you’re playing a waiting game. You heat up the air, and then the air has to heat up the wafer. It’s slow. It’s clunky. IR is different. It’s radiation. The energy just hits the surface and stays there. No middleman. The clock is always ticking When you use hot air, you’re fighting thermal inertia. You have to wait for the entire chamber to get up to temp before the wafer even starts to feel it. In a production environment, that’s just wasted time. It’s a huge drag on your ramp-up and cool-down cycles. IR lamps kill that lag. The heat transfer is almost instant. Think about your throughput. If you’re staring at a convection cycle that takes 10 minutes just to stabilize, but an IR cycle does it in 30 seconds… well, the math on your wafers-per-hour basically rewrites itself. It’s a massive win for your schedule. Getting the heat right We’ve all dealt with the headache of uneven heating. Forced air loves to leave cold spots, which is a nightmare for consistency. With IR, we can actually play with the layout. By using zoned heating, we can tweak the lamp arrays to fix those annoying edge-losses. The result? A flat, consistent thermal profile across the whole 300mm surface. No surprises. The catch (because there’s always one) IR isn’t a magic wand. The heat density is intense—really intense. Because it happens so fast, it’s easy to overshoot your target temperature if your PID loops aren’t dialed in perfectly. You’ll want high-speed sensors and shutters that snap shut fast, otherwise, you’re looking at warped wafers. And don’t forget the exit strategy. You need a beefy cooling system to rip that heat out the second the process ends. If you don’t, you’ll end up baking your internal seals, and that’s a repair nobody wants to deal with.